
Gateway User Guide
Smart Paddock gateways are designed with a simple plug and play concept, whereby it is preconfigured and all you have to do is screw a few things in and mount.
Once you have set up your gateway, please let us know coordinates/ its location so we can place it virtually in the map on the dashboard!*
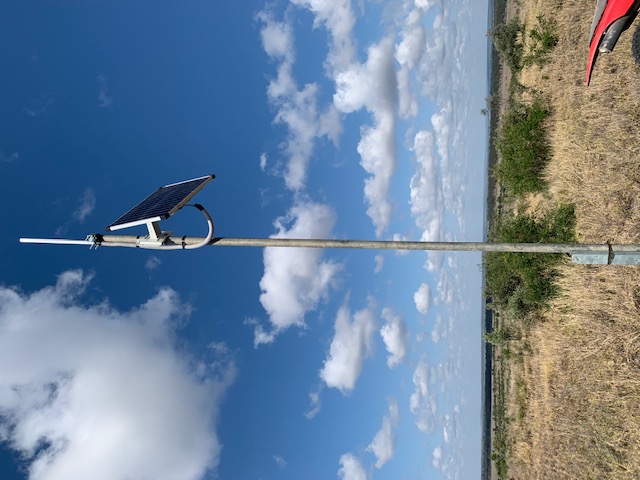
Solar gateway:
Plug and play with no access to power
Solar panel to charge the device, included in box. (An additional solar panel can be purchased to assist, highly recommended for customers in low sunlight locations, southern parts of Australia and NZ, northern parts of North America etc)
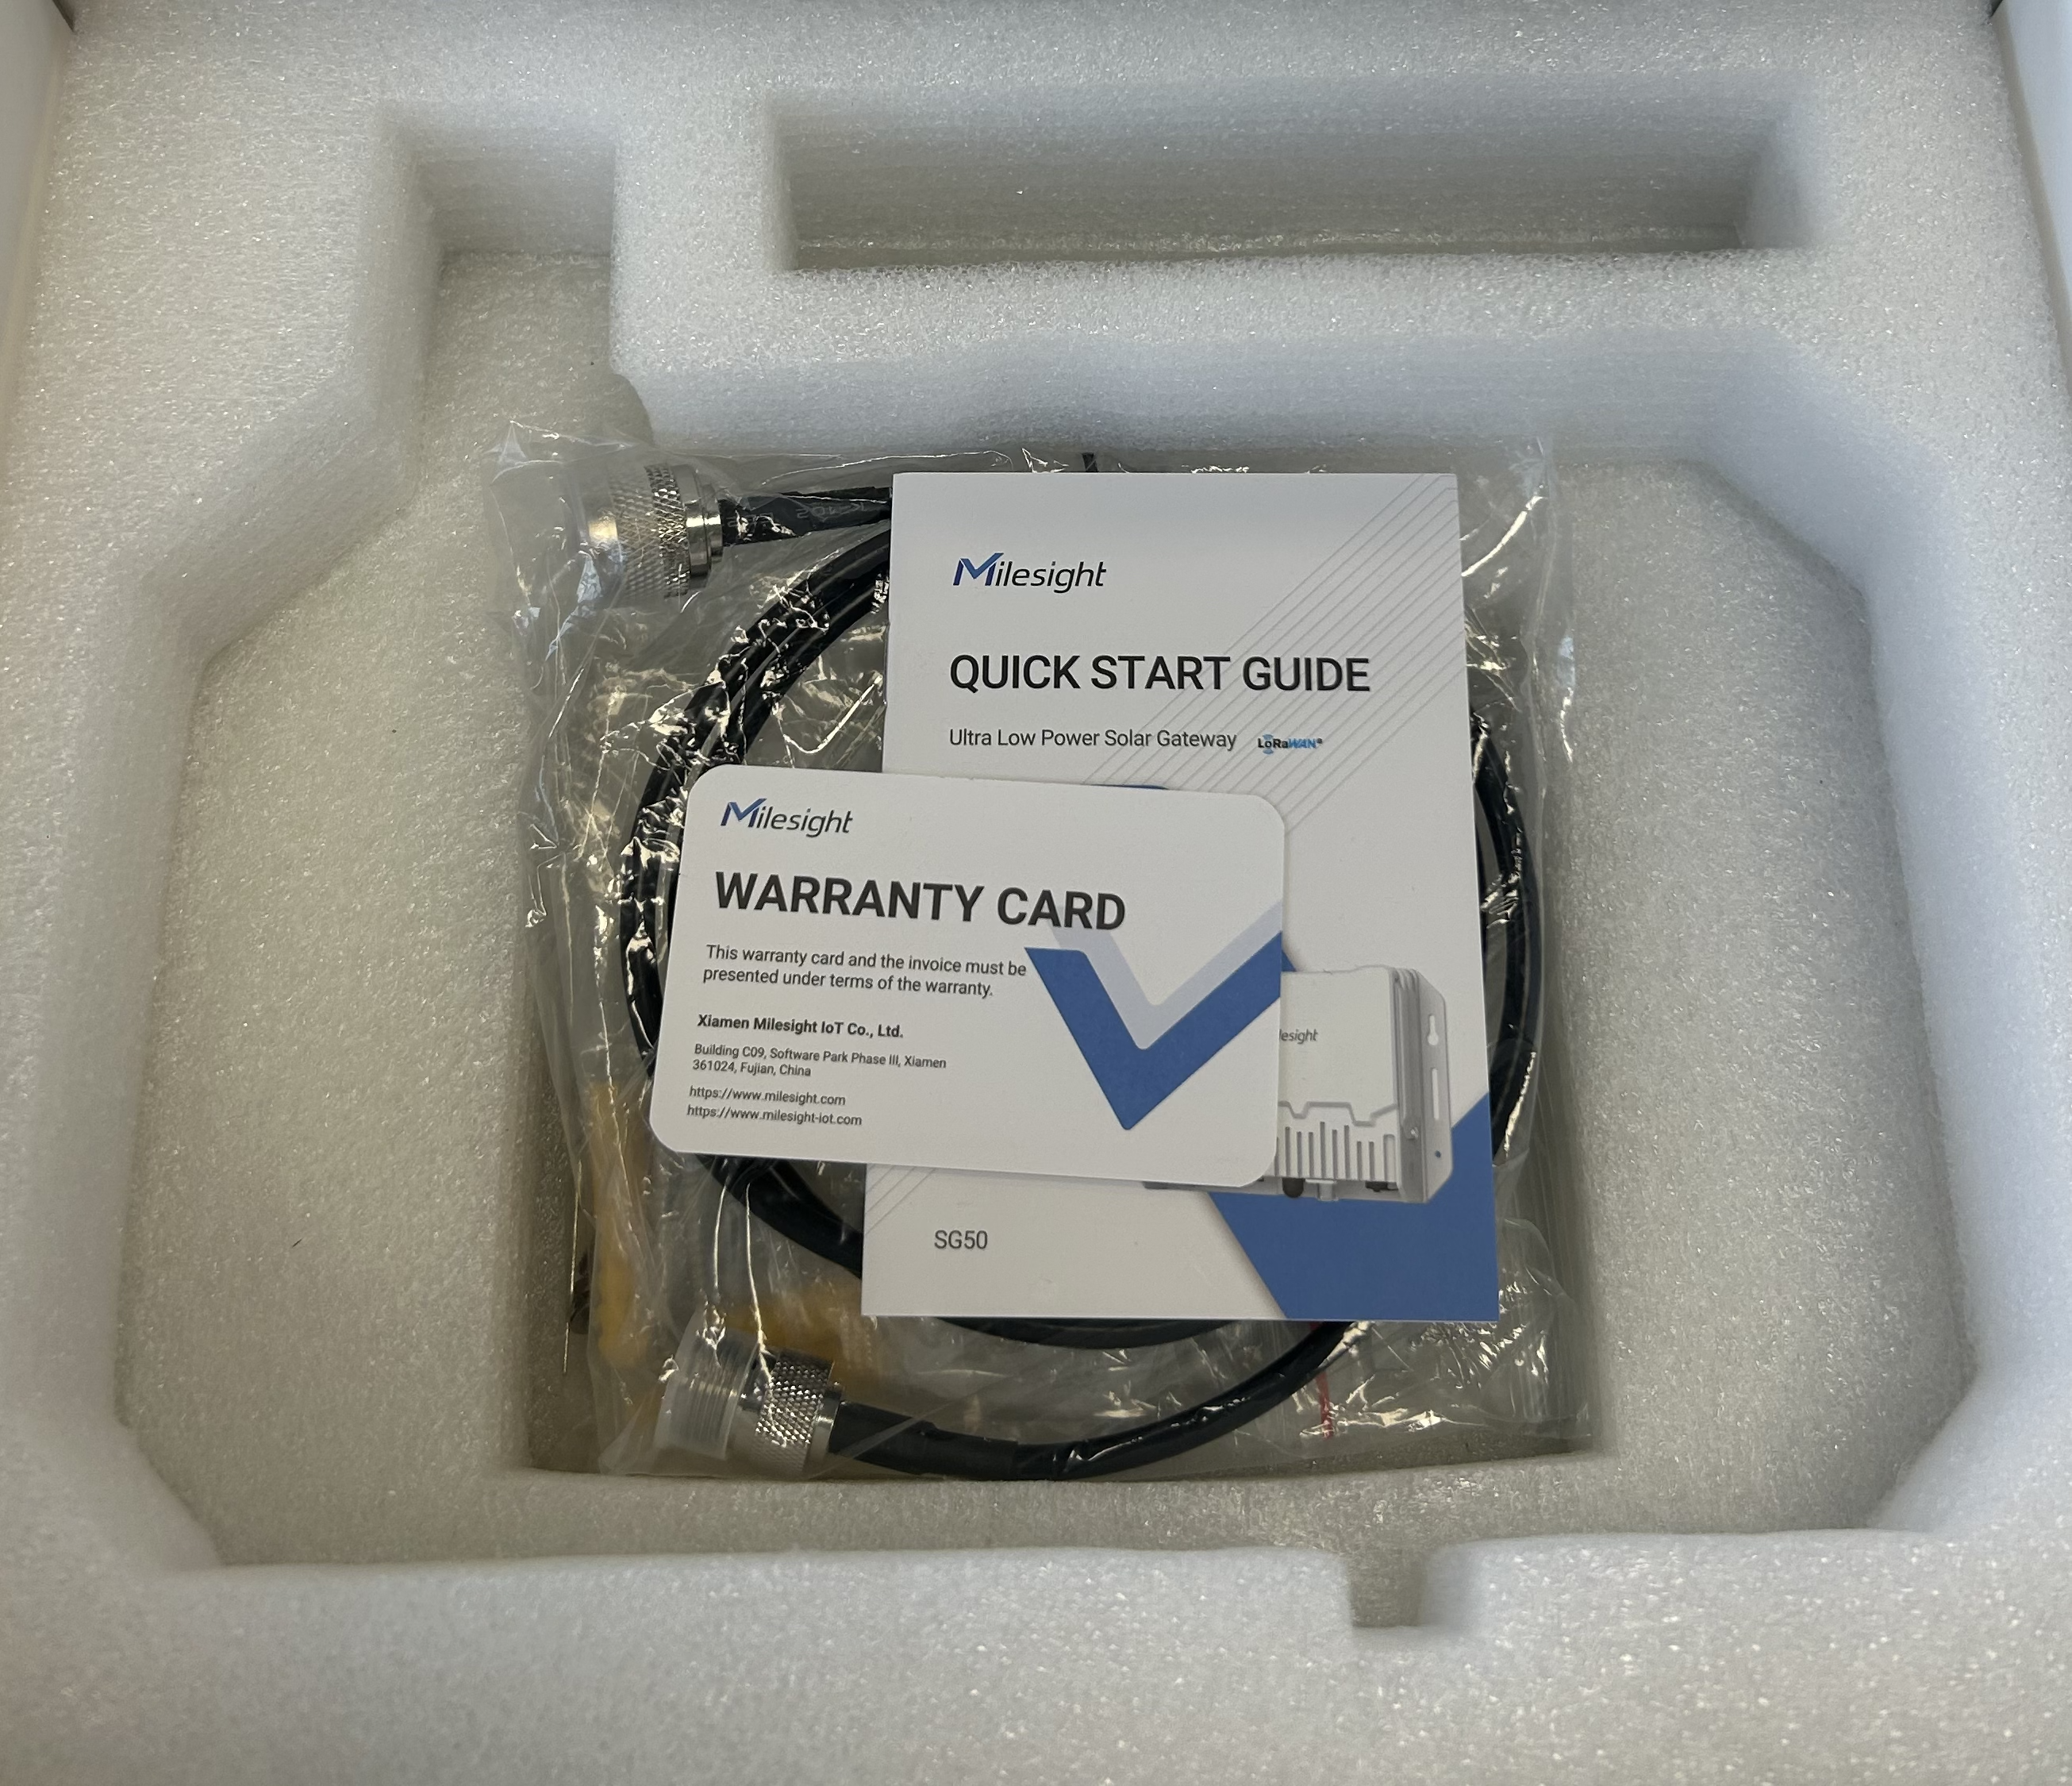
Included in this box:
Solar panel
Antenna
Gateway device
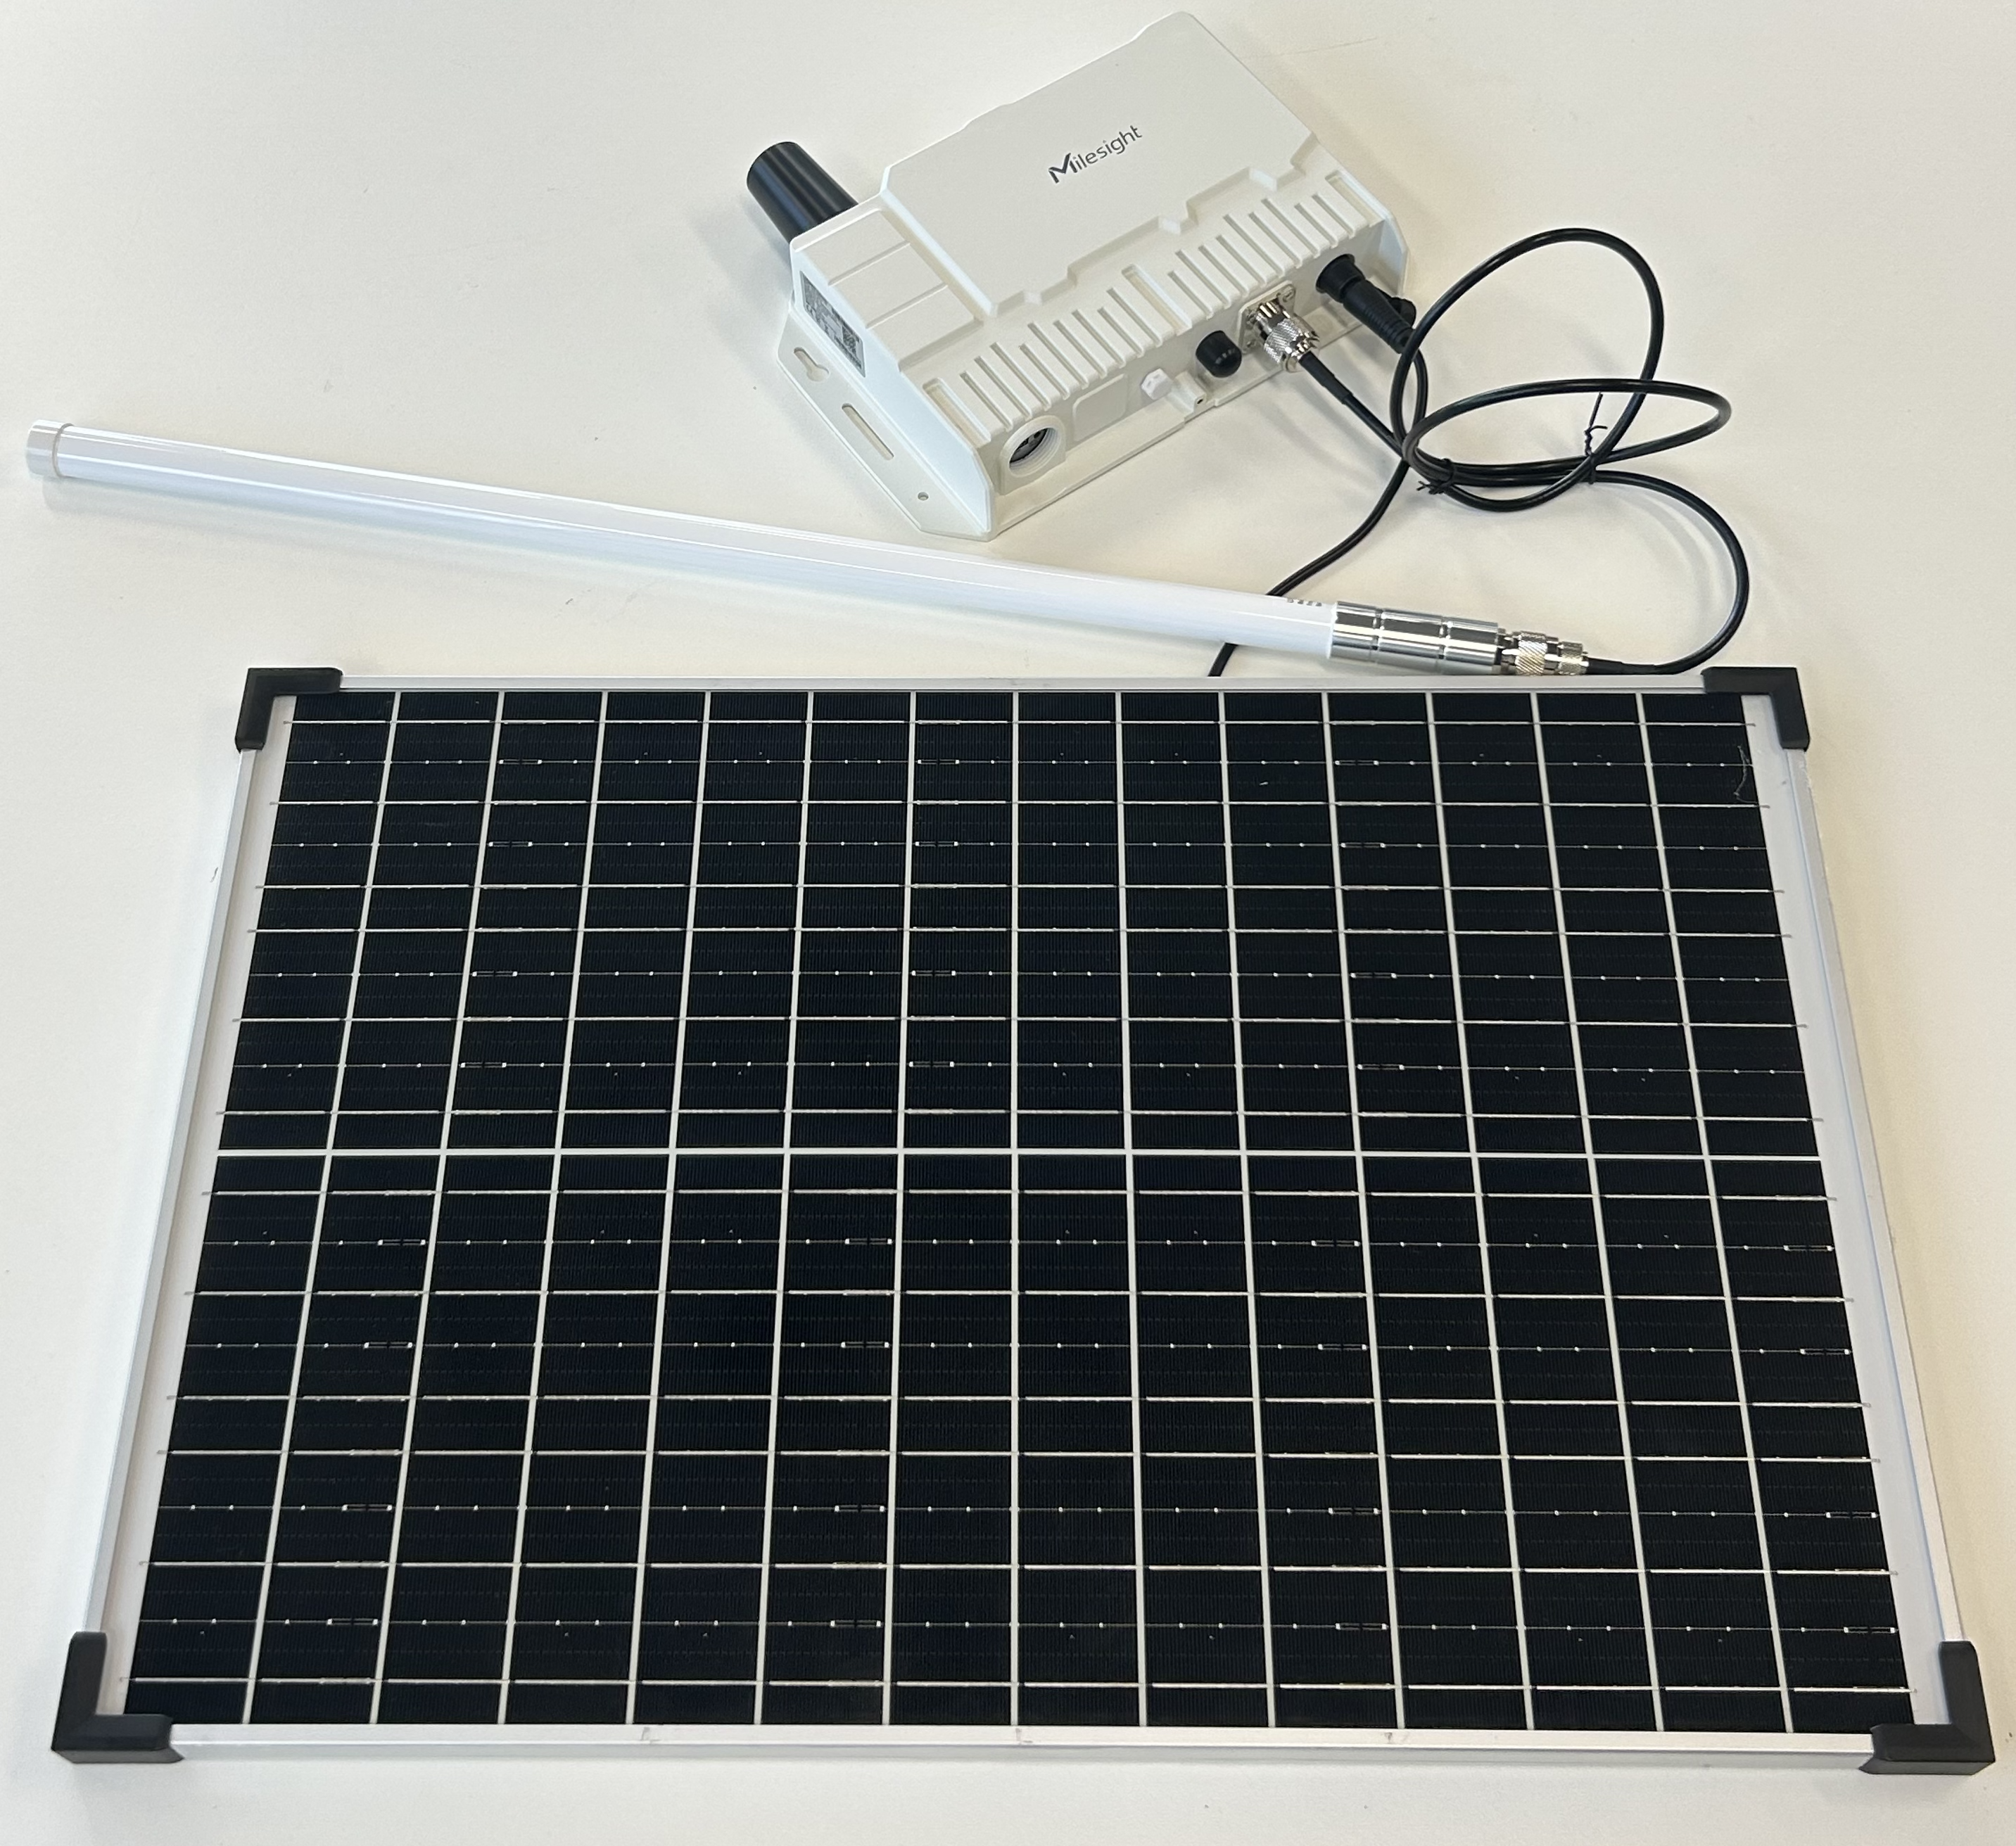
Take all items out of the box
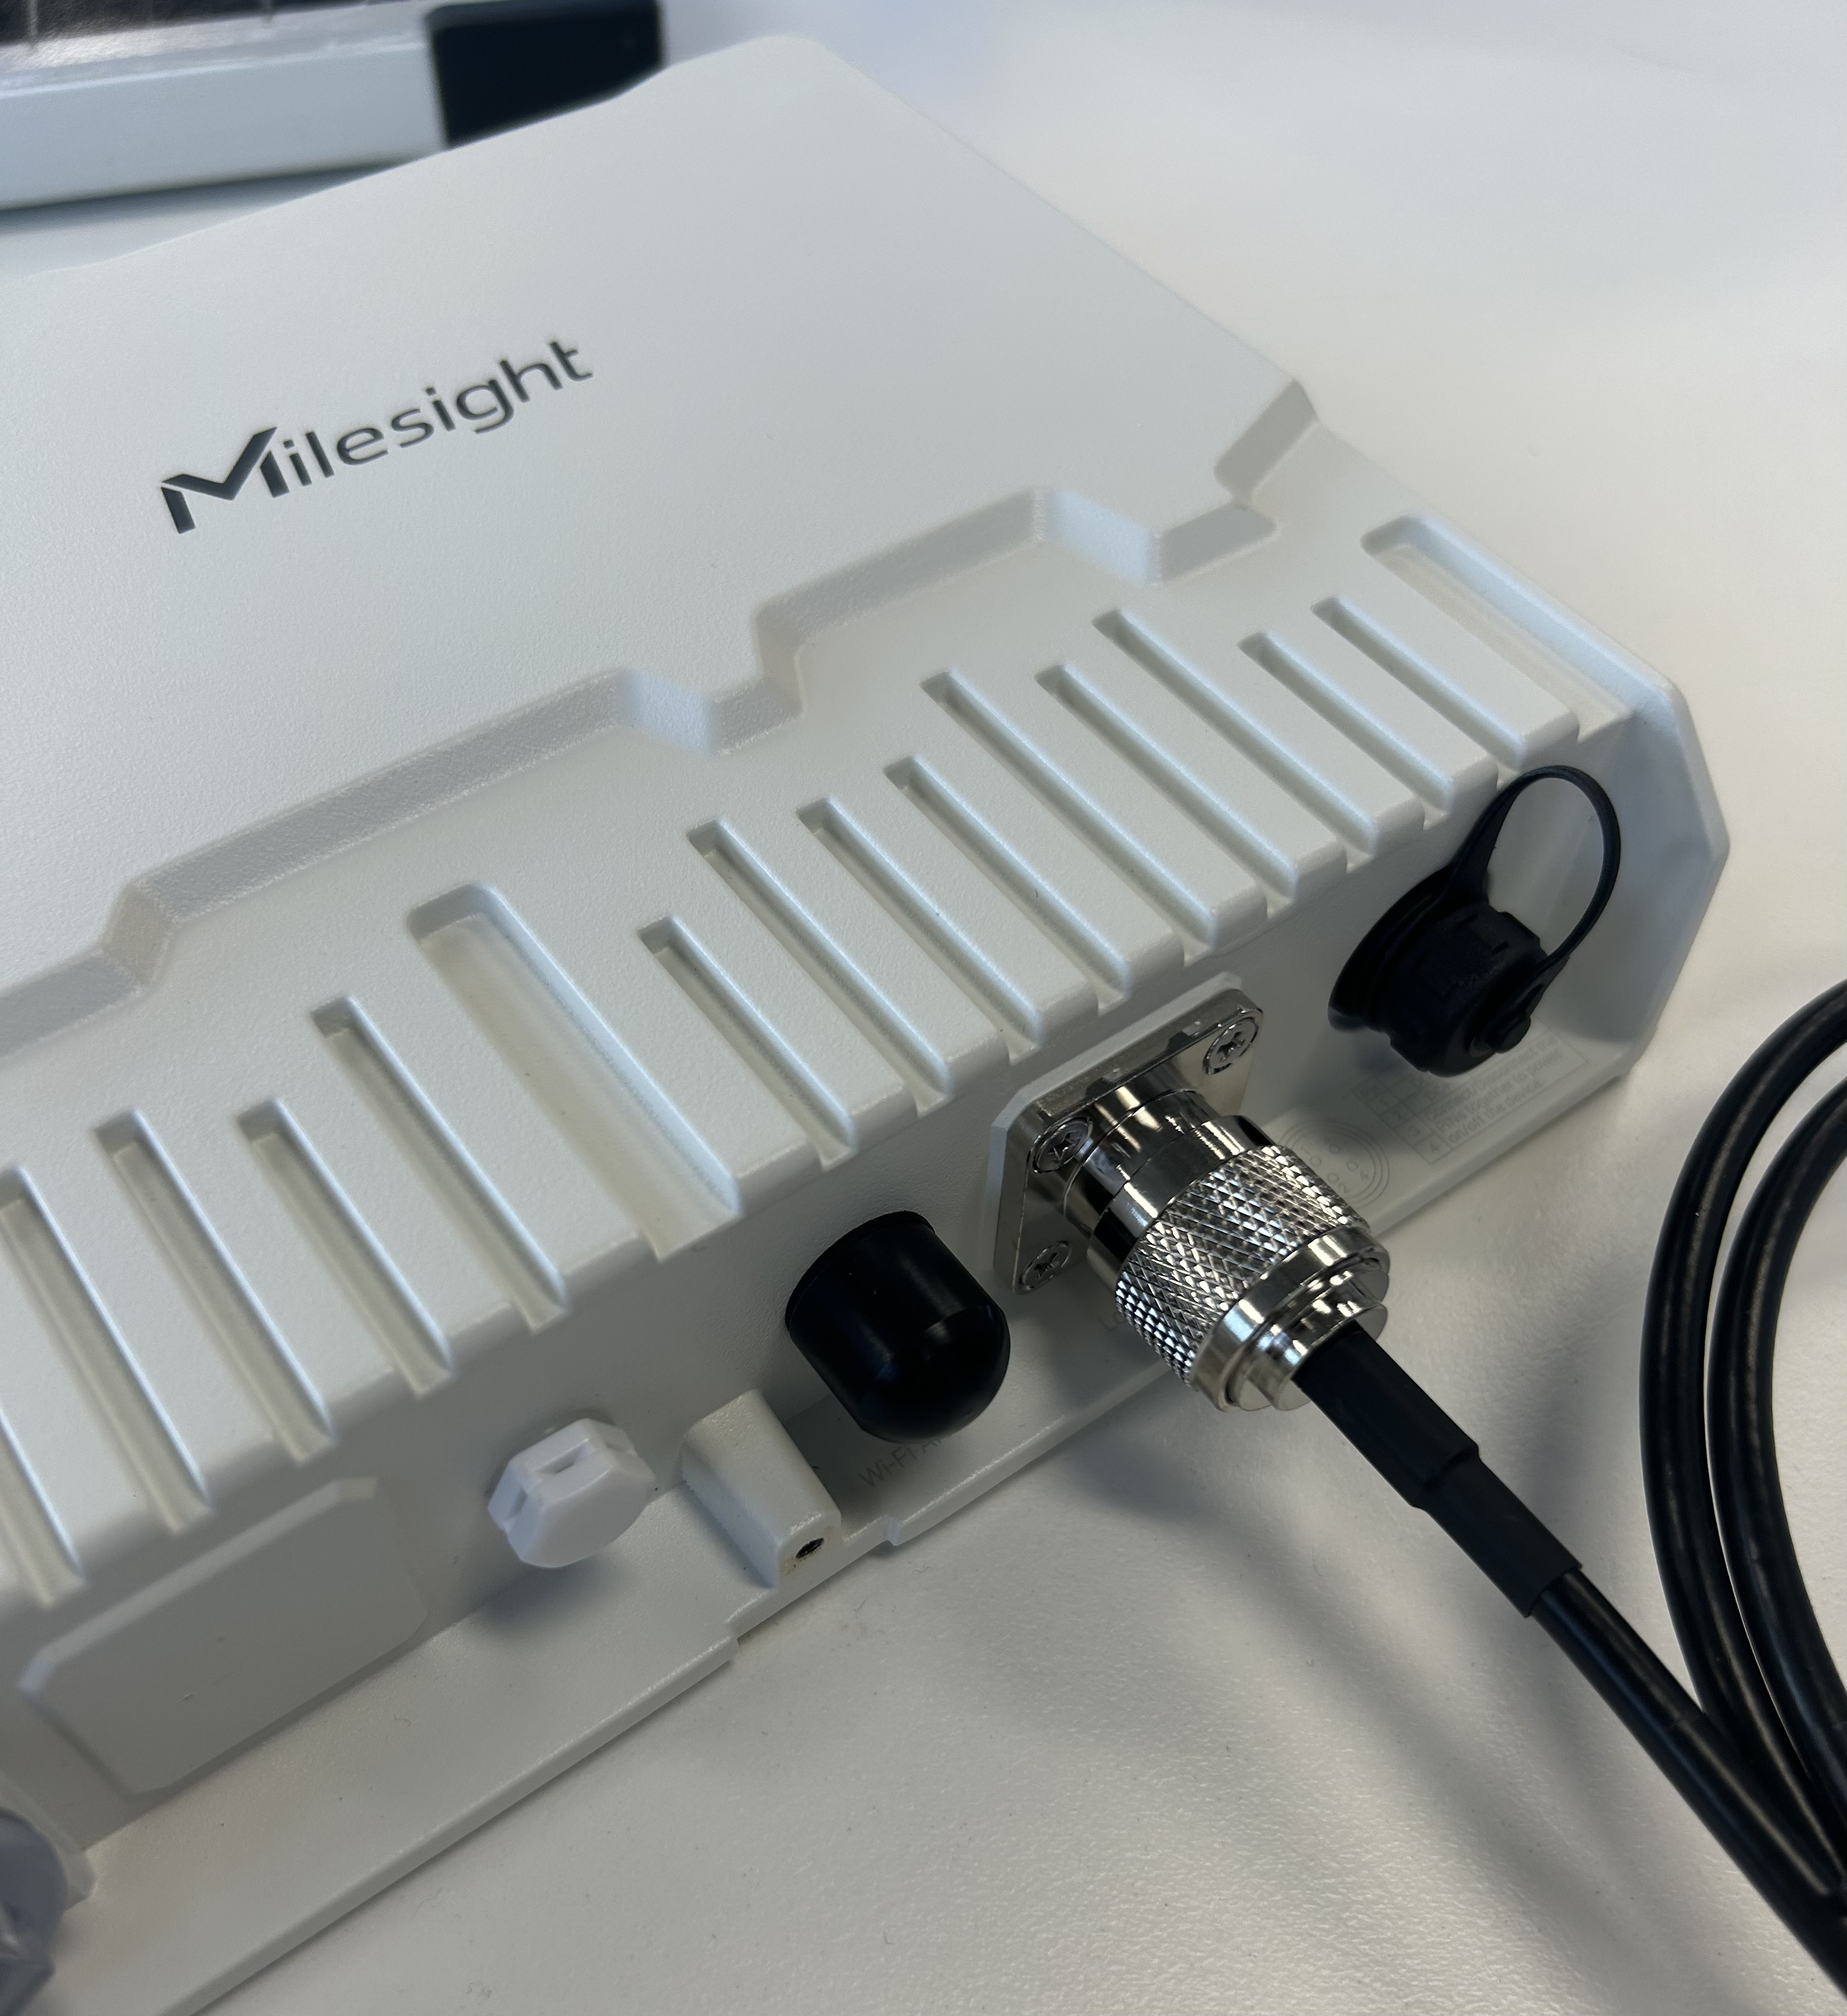
Plug in the antenna, silver to silver and twist. This must be done before the solar panel is plugged in.
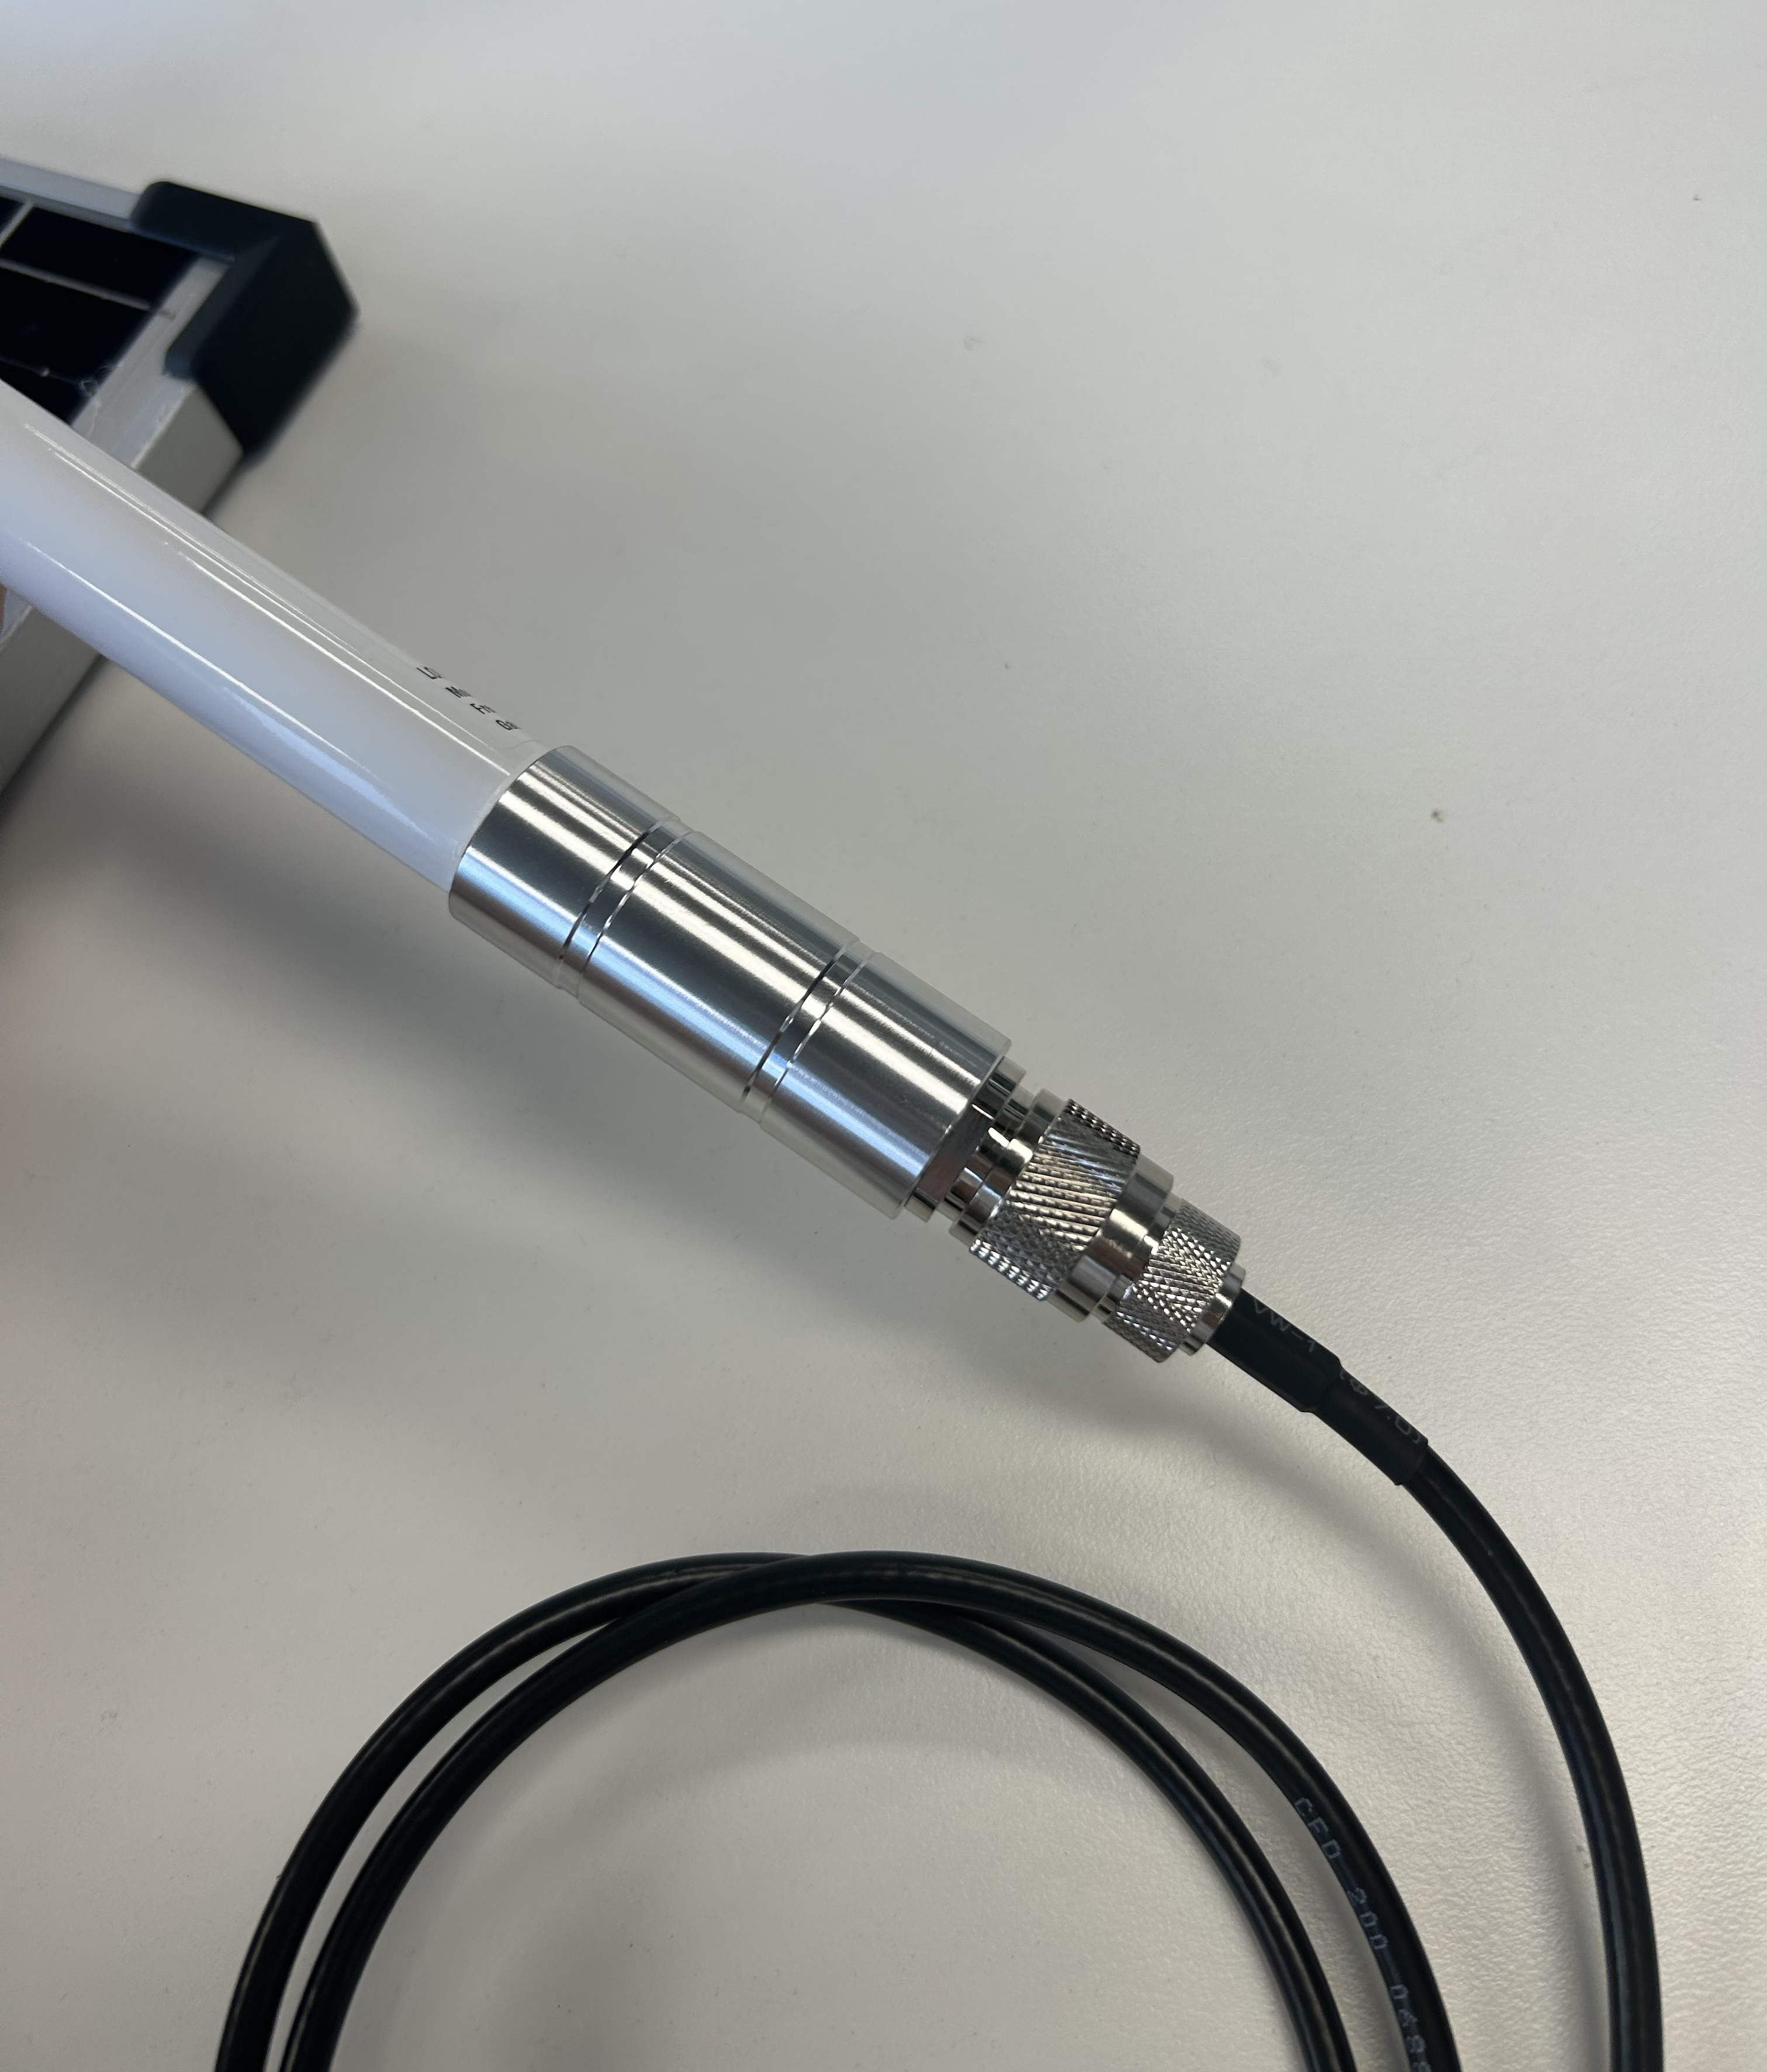
Plug into the gateway on the other side of the cord
Unscrew the cap from the furthest right and plug in the cord from the back of the solar panel. This must be lined up with the grooves and then screwed on
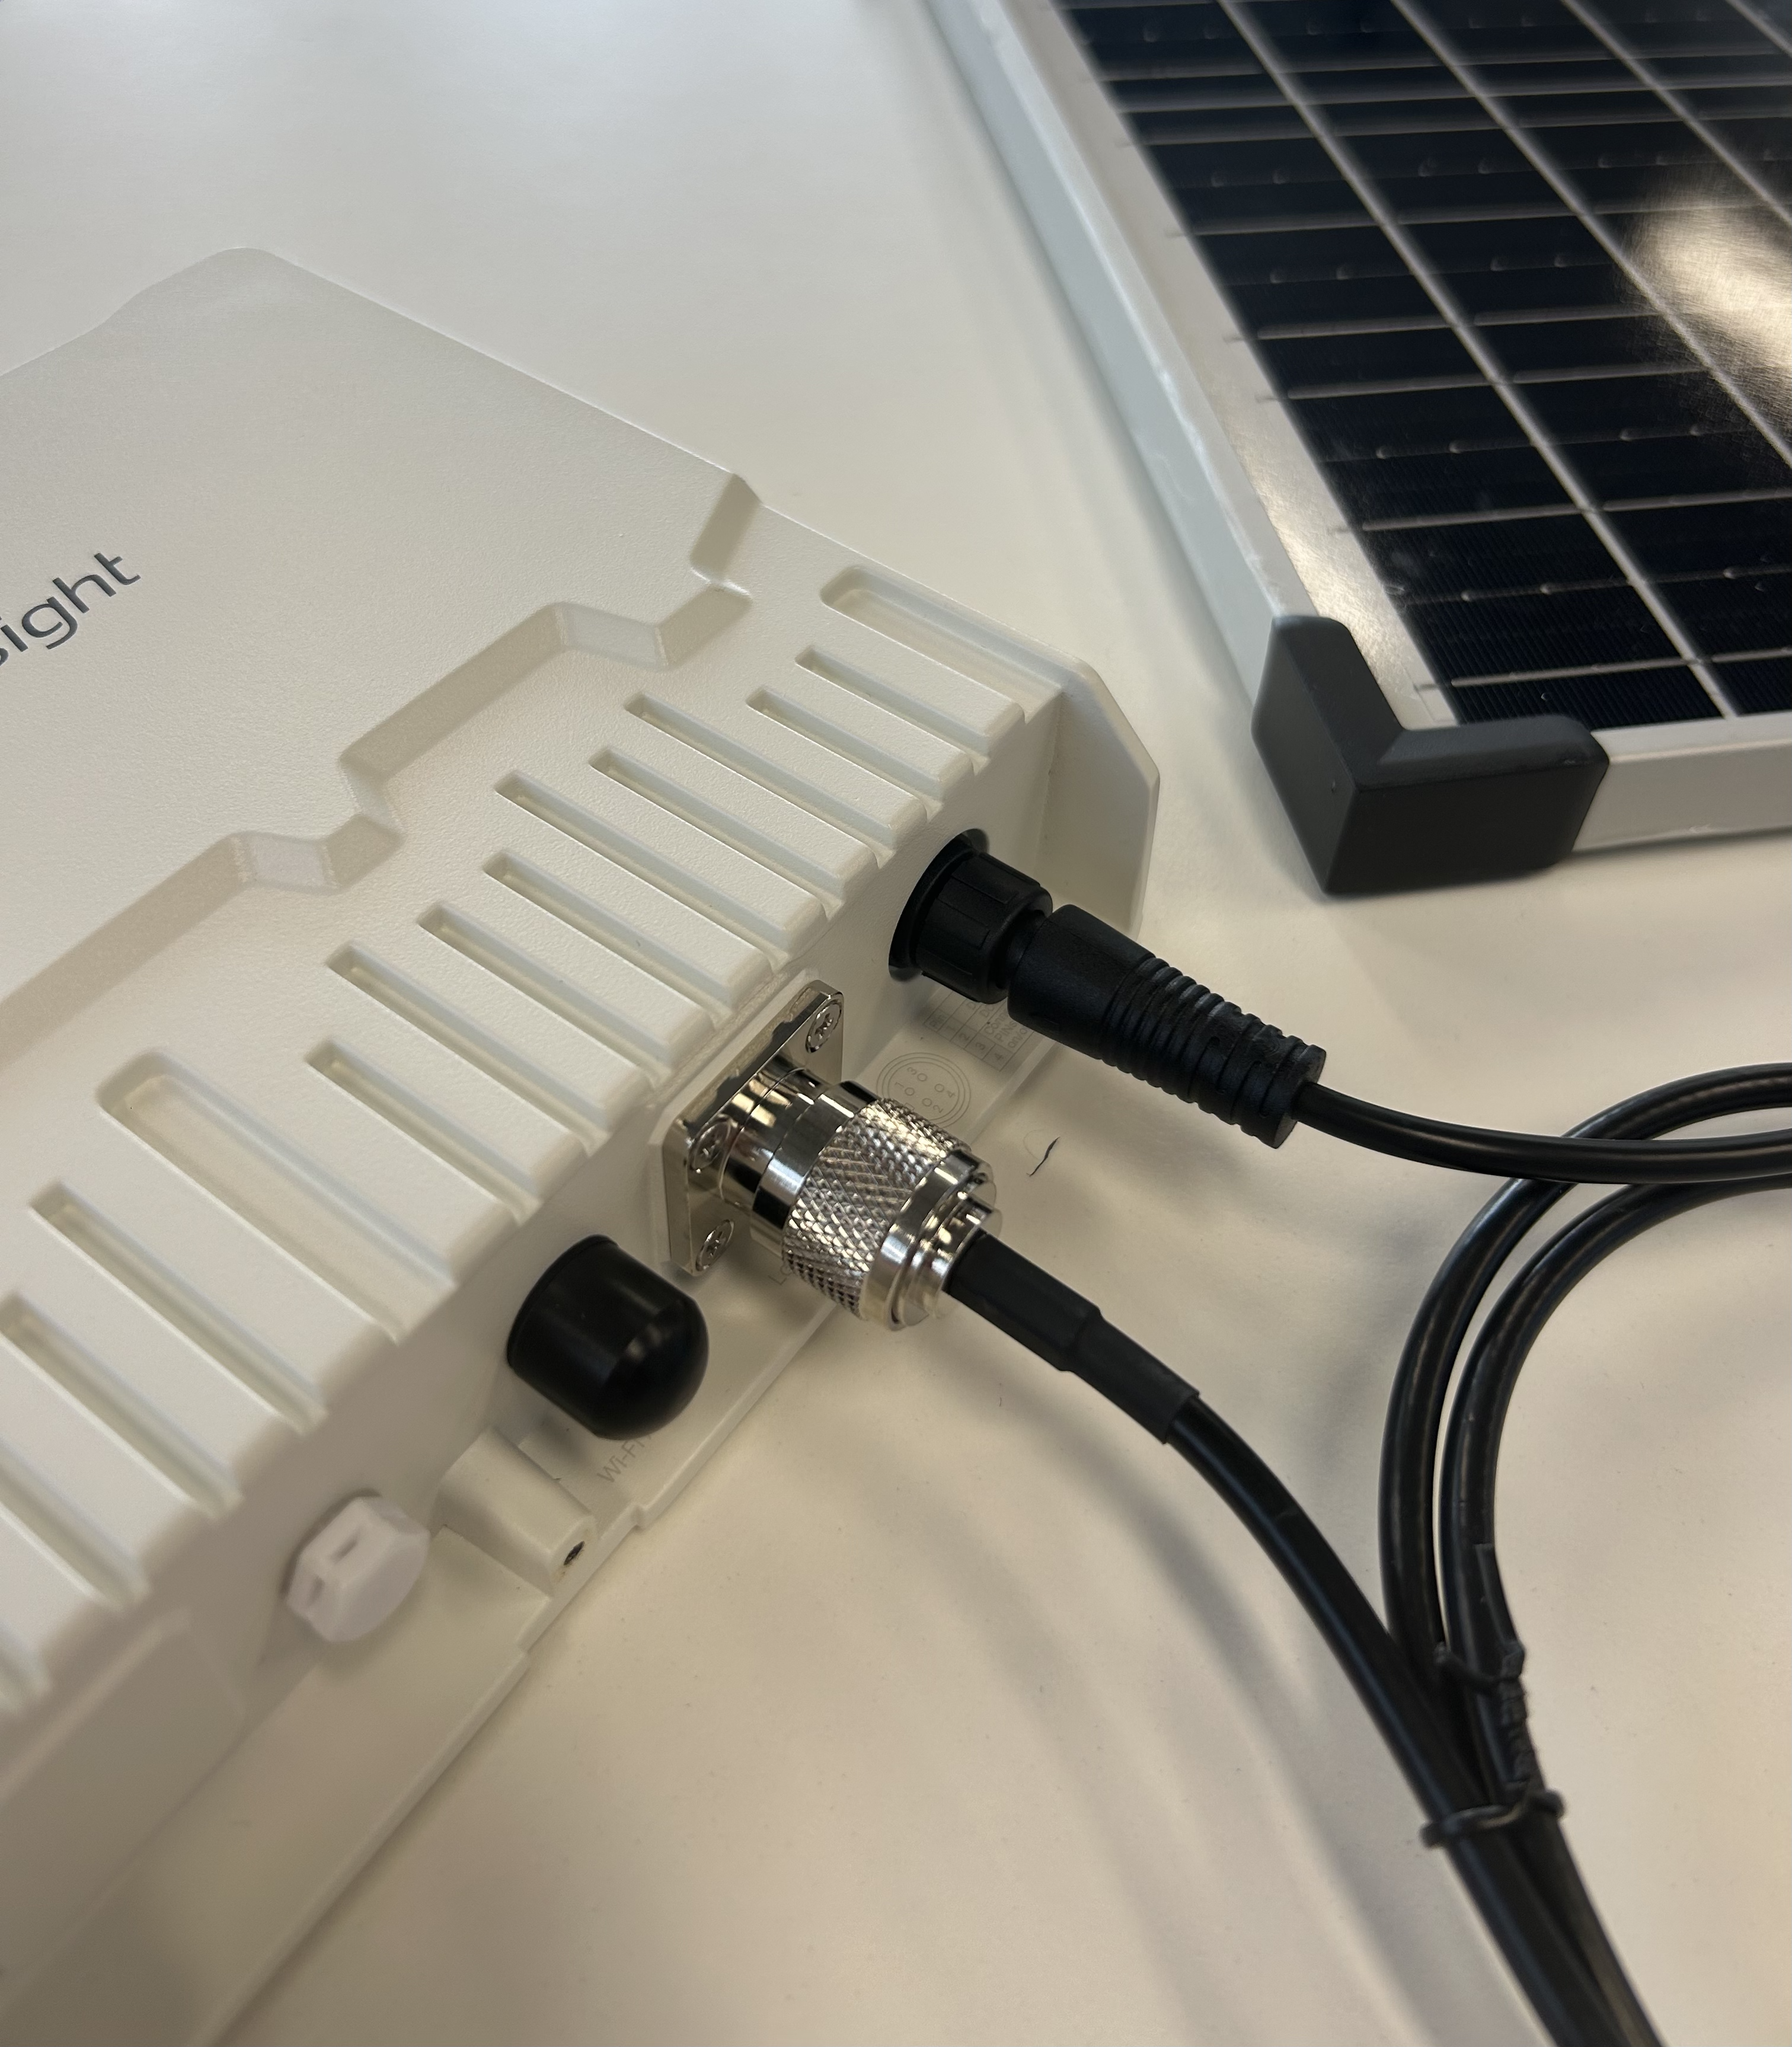
Your gateway should now look like this and is all set. Continue from step 5 in the ‘Quick Start Guide’ that is included on how to mount your gateway
.png?inst-v=e98c0220-50dc-4e94-b9d9-5faf1971e3bc)
Mains powered gateway: